Docs / Human-in-the-Loop
Approve / Reject Tasks

This guide explains the standard process for approving or rejecting tasks in MergePoint — no matter what type of workflow you’re working in.
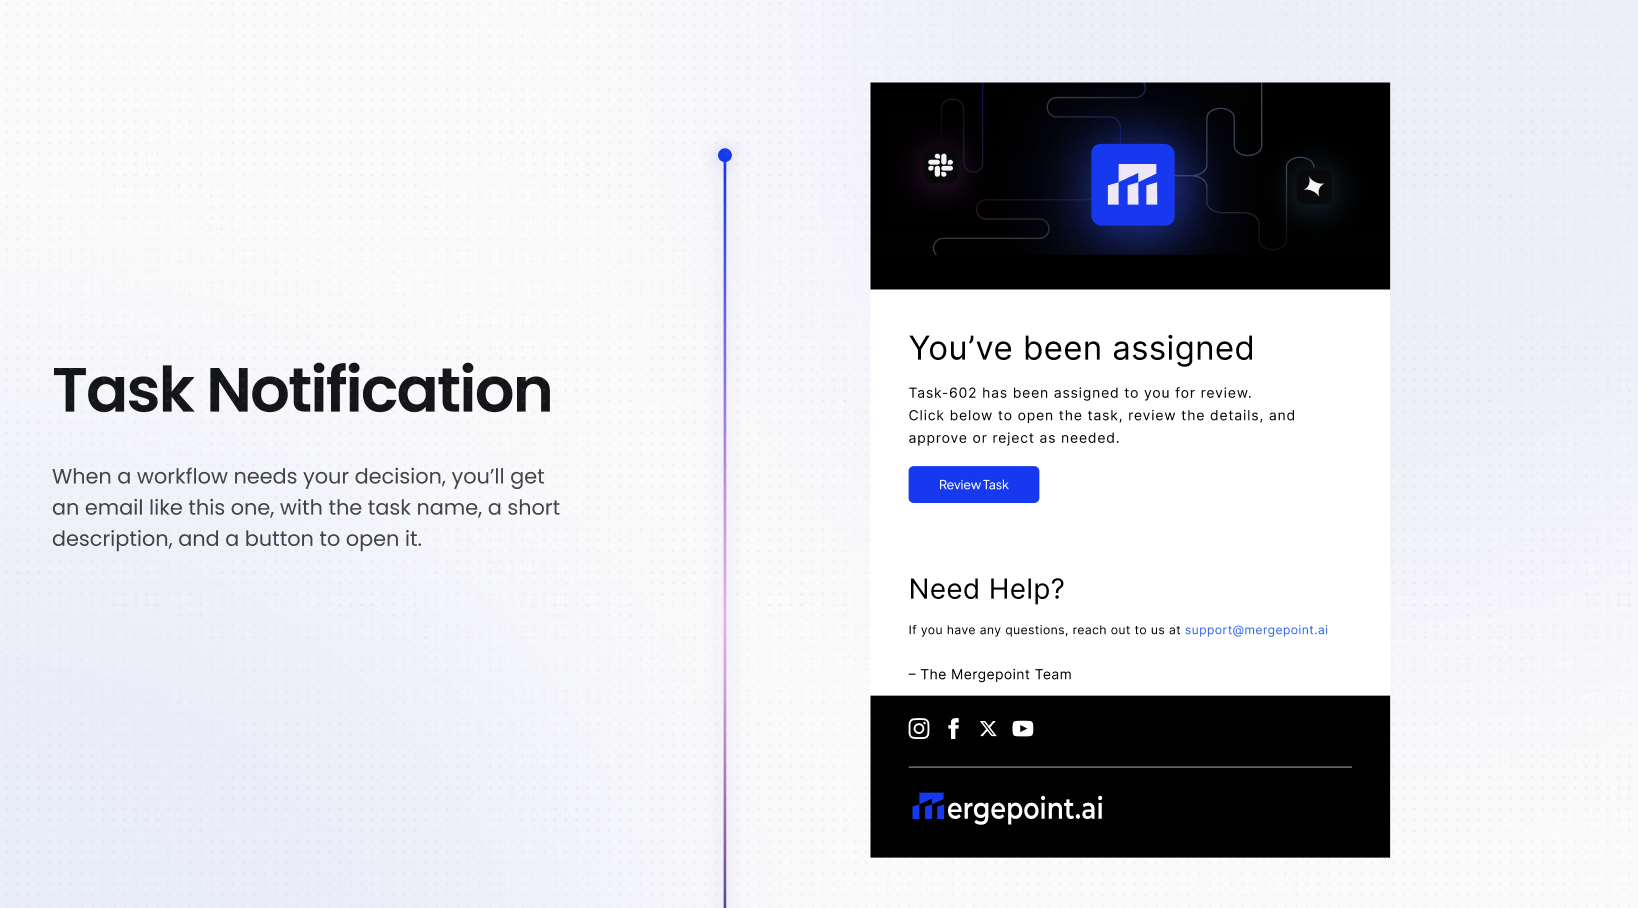
1. Receive a Task Notification
When you are assigned a task, MergePoint sends you an email notification.
The email includes:
The task number
A “View Task” button to open it directly in MergePoint
2. Open the Task
Click the “View Task” button in the email.
This will open the task page in MergePoint.
You’ll see:
Details panel — all fields, data, or metadata for the task.
Reference/preview panel — supporting documents, images, or records.
3. Review the Task
Before taking action:
Check all required fields are completed.
Verify accuracy against source requirements or business rules.
Review system alerts (e.g., overdue, low confidence, data mismatch).
Read any notes or history from previous steps.
4. Take Action — Approve or Reject
Approve — confirms the task is correct and can move forward.
Reject — sends it back for correction or stops further processing.
Both options are located in the bottom-right corner of the task view.
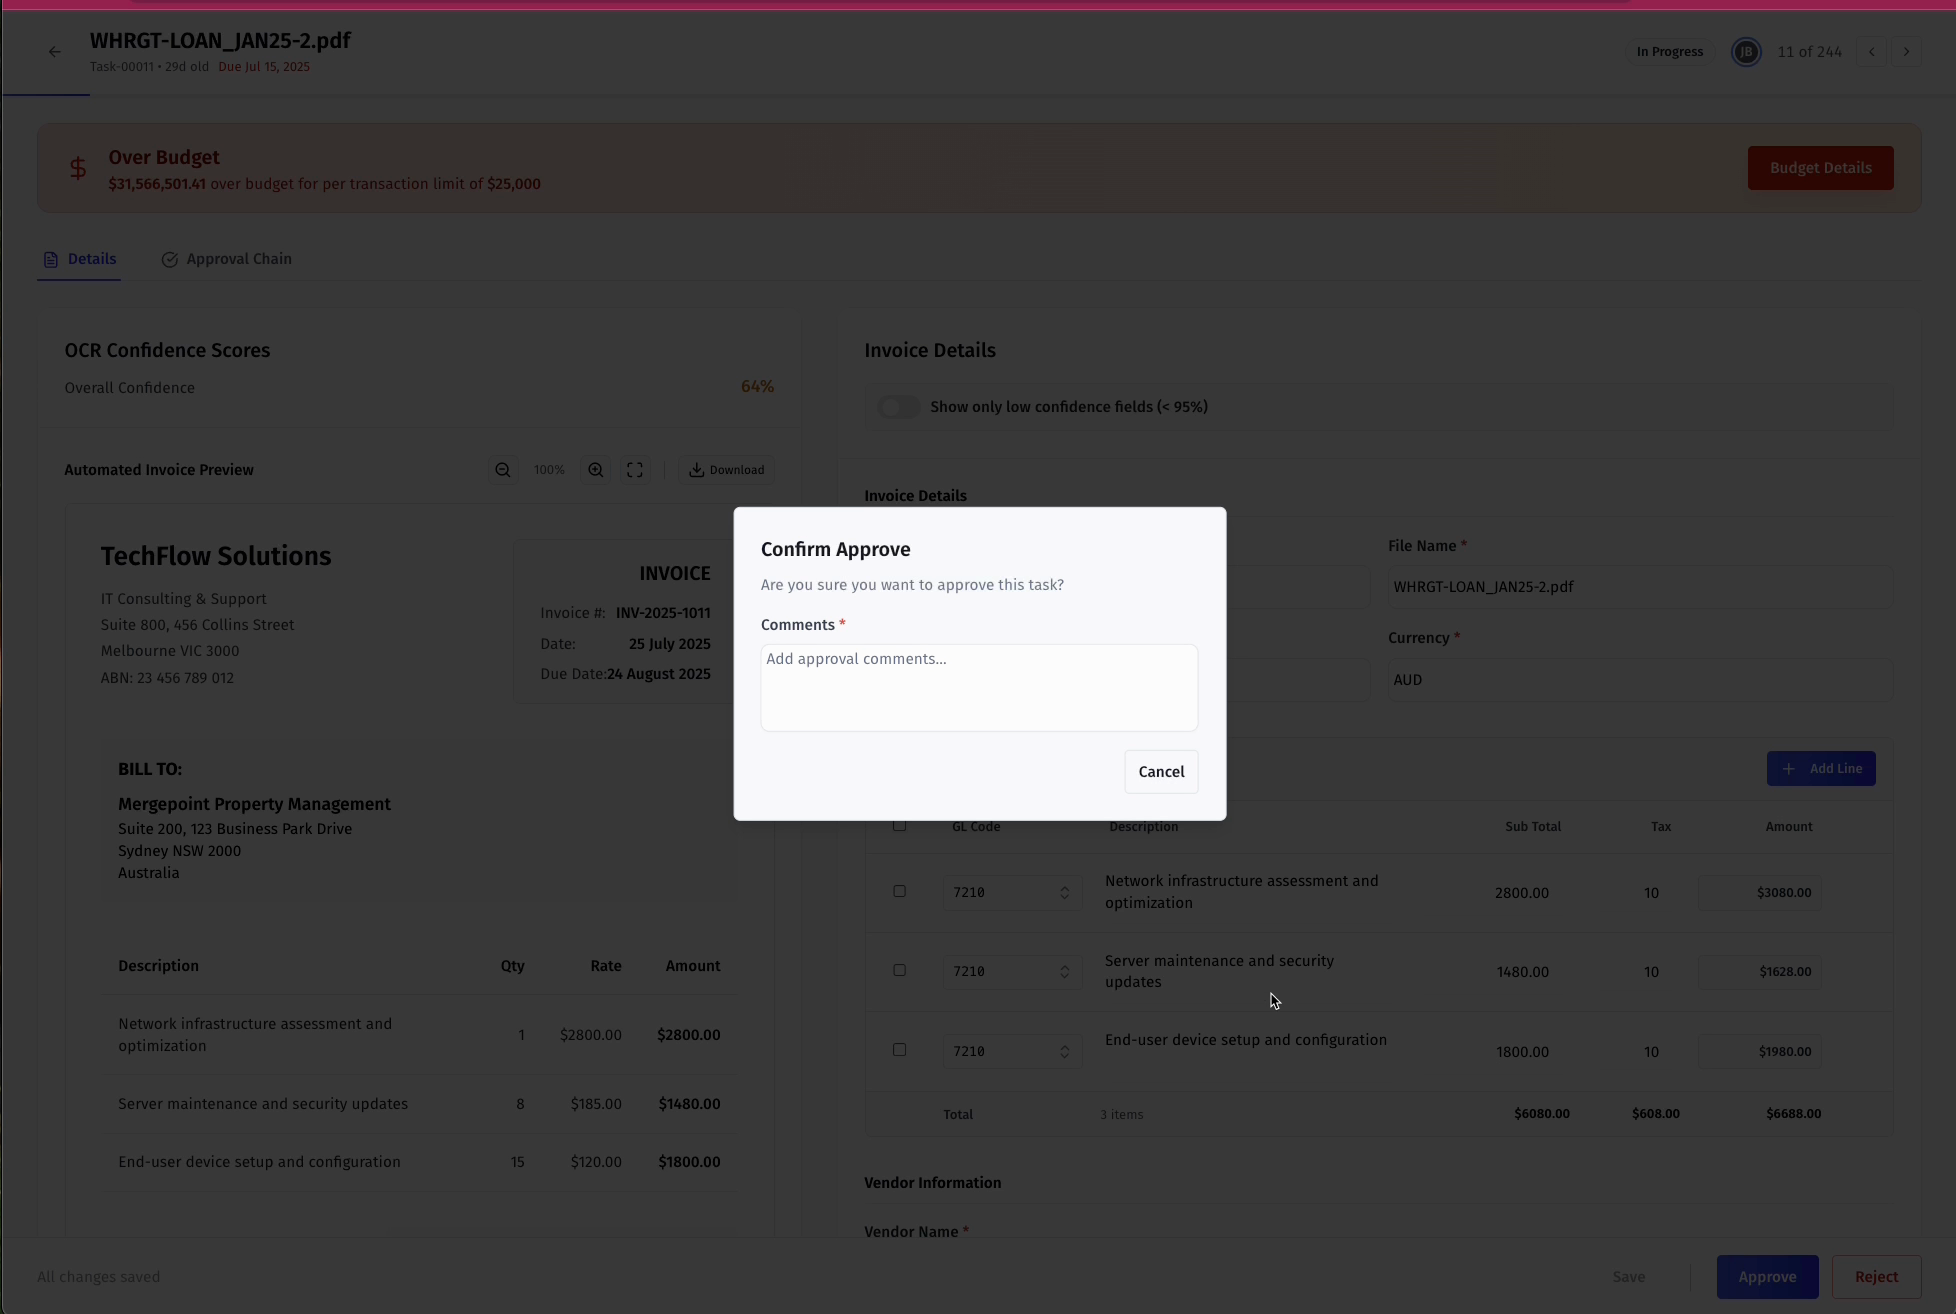
5. Provide Comments (Required)
When you click Approve or Reject:
A confirmation modal will appear.
Enter your approval or rejection comments (mandatory).
Click Approve or Reject again to confirm.
6. After Your Decision
The task’s status updates immediately.
Your action and comments are logged in the task history or approval timeline.
The workflow automatically routes the task to the next step — whether that’s finalization, handoff, or rework.
Best Practices
Be specific in comments — clear reasoning reduces back-and-forth.
Always check system flags before approving.
Don’t approve incomplete work — send it back for correction instead.
Was this helpful?